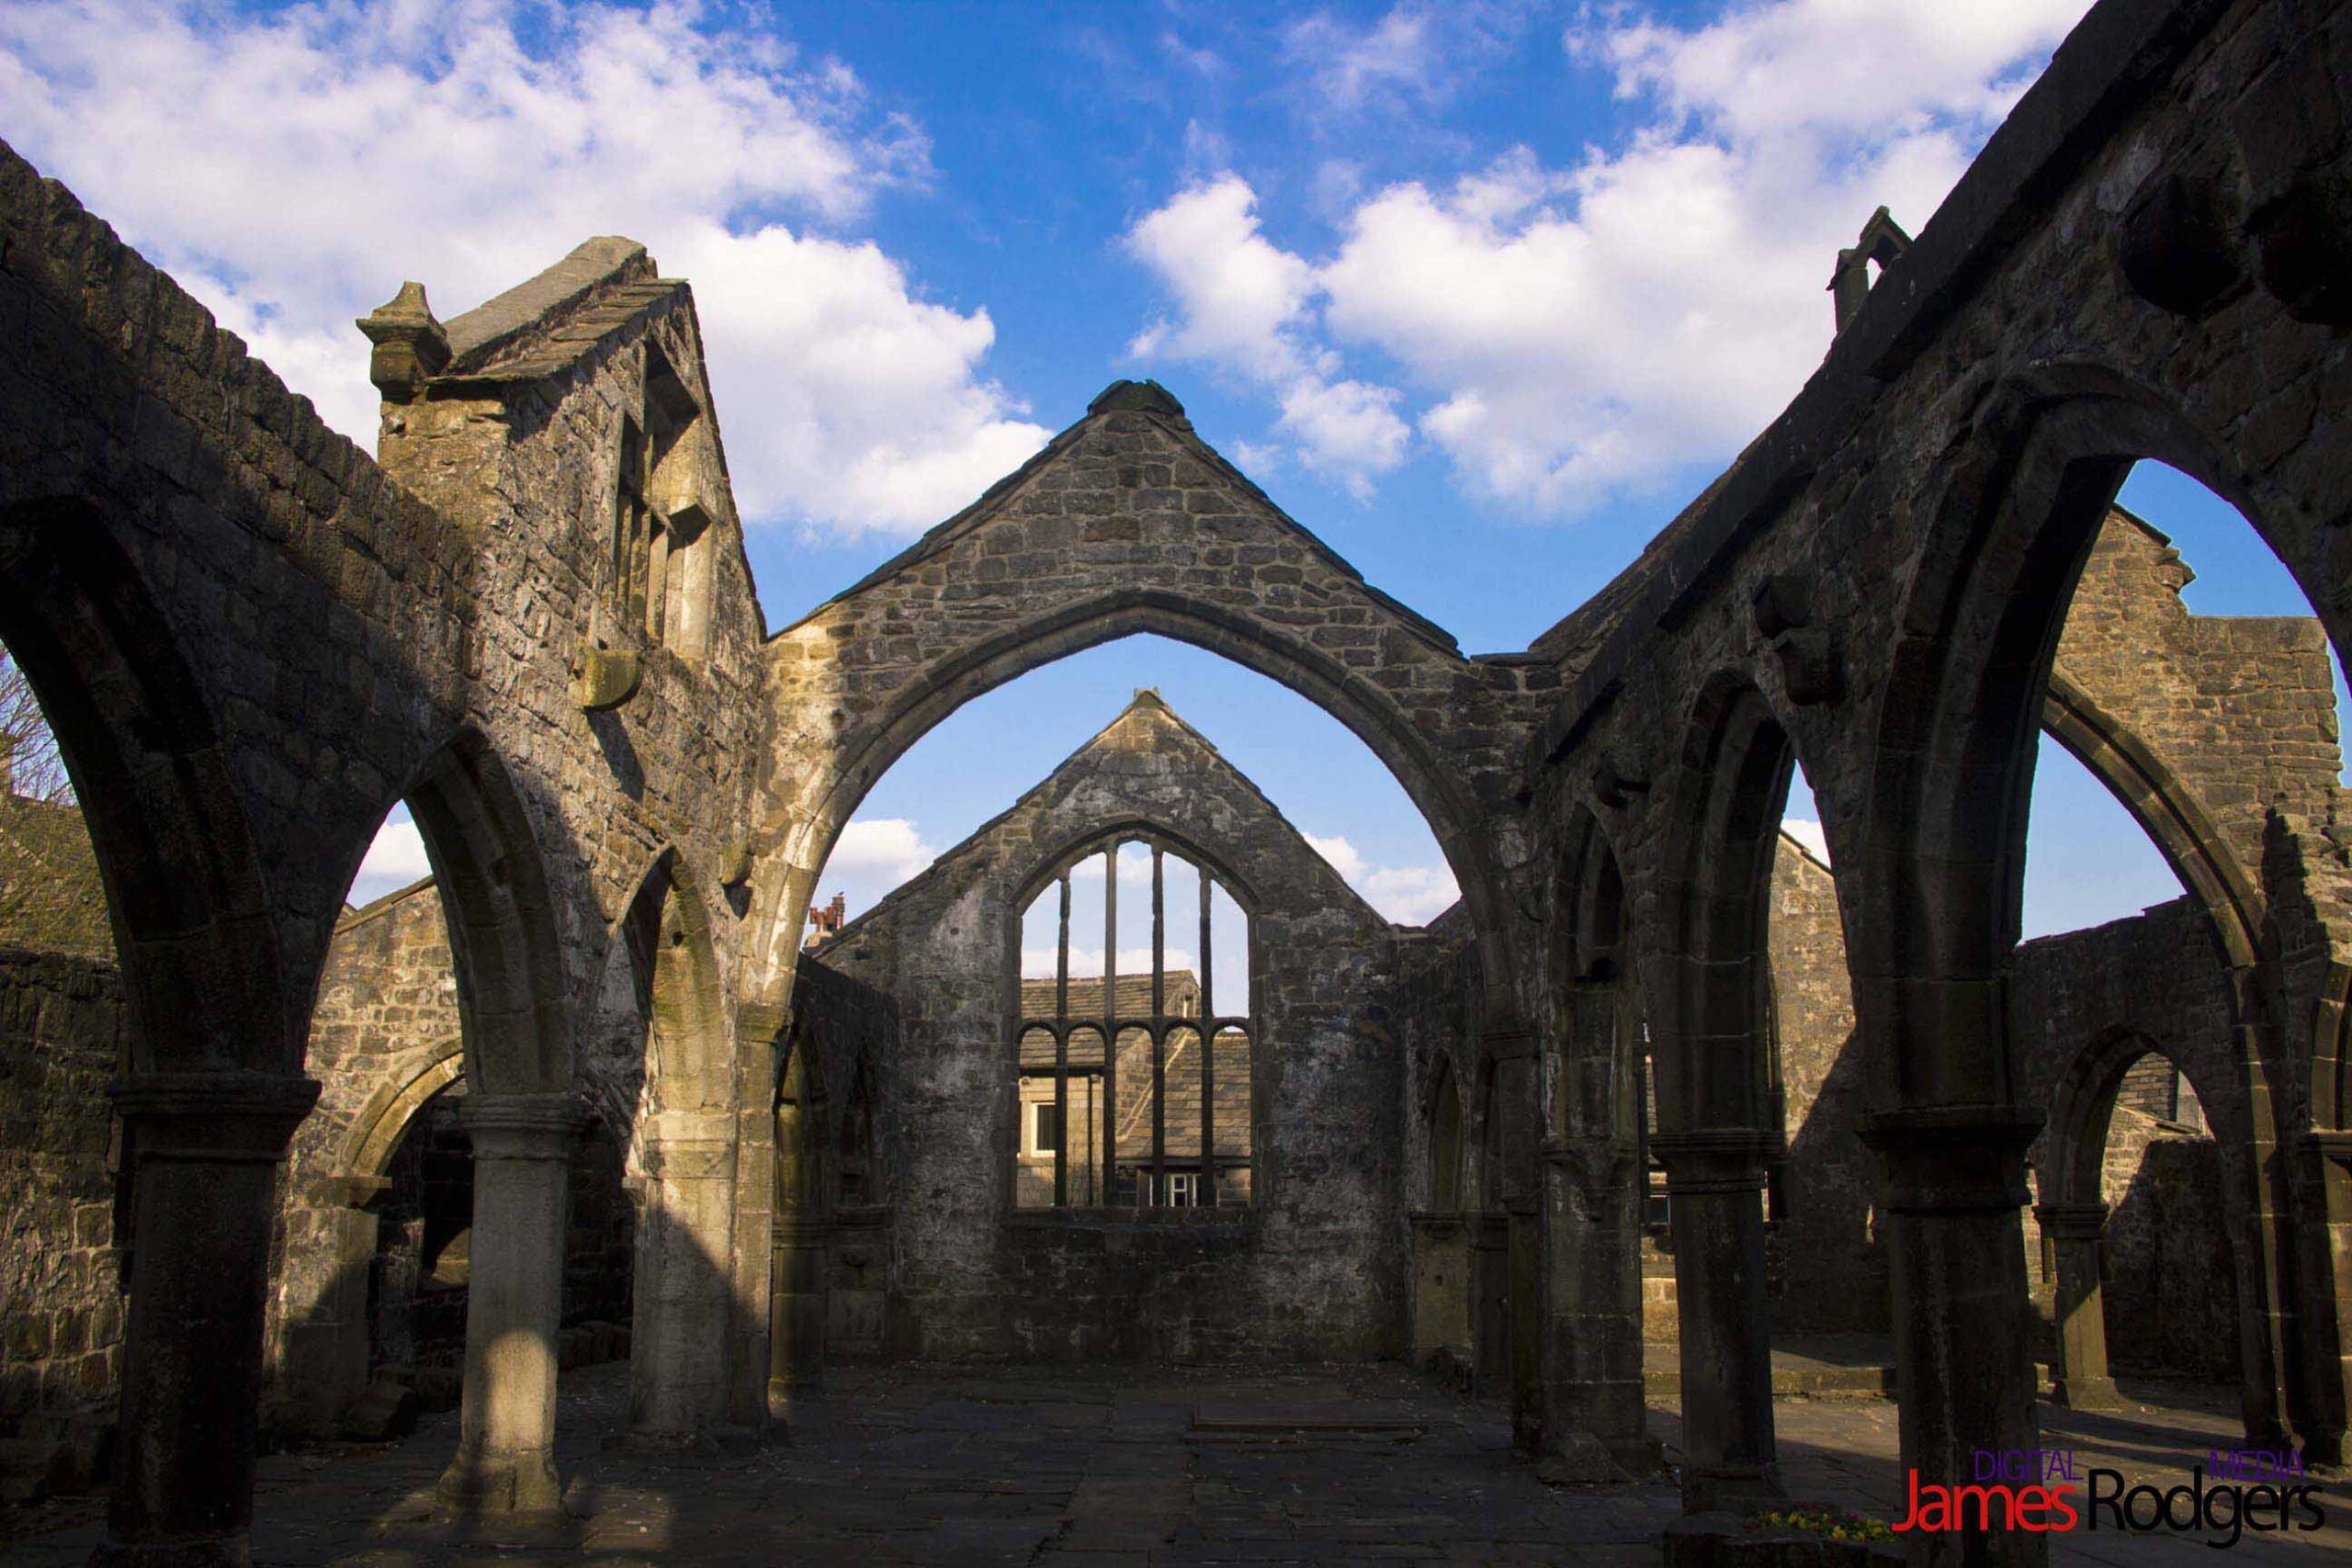
In this weeks blog, we are going to show you how to create an Ansel Adams style image using Photoshop. We have used Photoshop CS5 to do this tutorial, other lower version will also work for this project.
1. Open your desired image. We are going to convert this image into a high-contrast Ansel Adams Style, black and white image.
2. Go to the layers palette and from the ‘Adjustments layer’ pop up menu, at the bottom of the layers palette choose ‘channel Mixer’. When the channel Mixer first appears, click on the “Monochrome” check box. This changes your output channel to grey, giving you a black and white photograph.

3. Drag the red slider to the right until it reads +60% as an initial starting point.
4. Drag the green slider to the right until it reads +90%. This blows out the image giving extreme highlights. Please note that these percentages are dependent on the image .You may need to move the slider to see what is best for the image you are modifying.
5. Drag the blue slider to around +30%. Again depending on the image, you might want to turn the green channel down to +140%, or move the constant slider up or down 3 or 4 % to change the brightness.
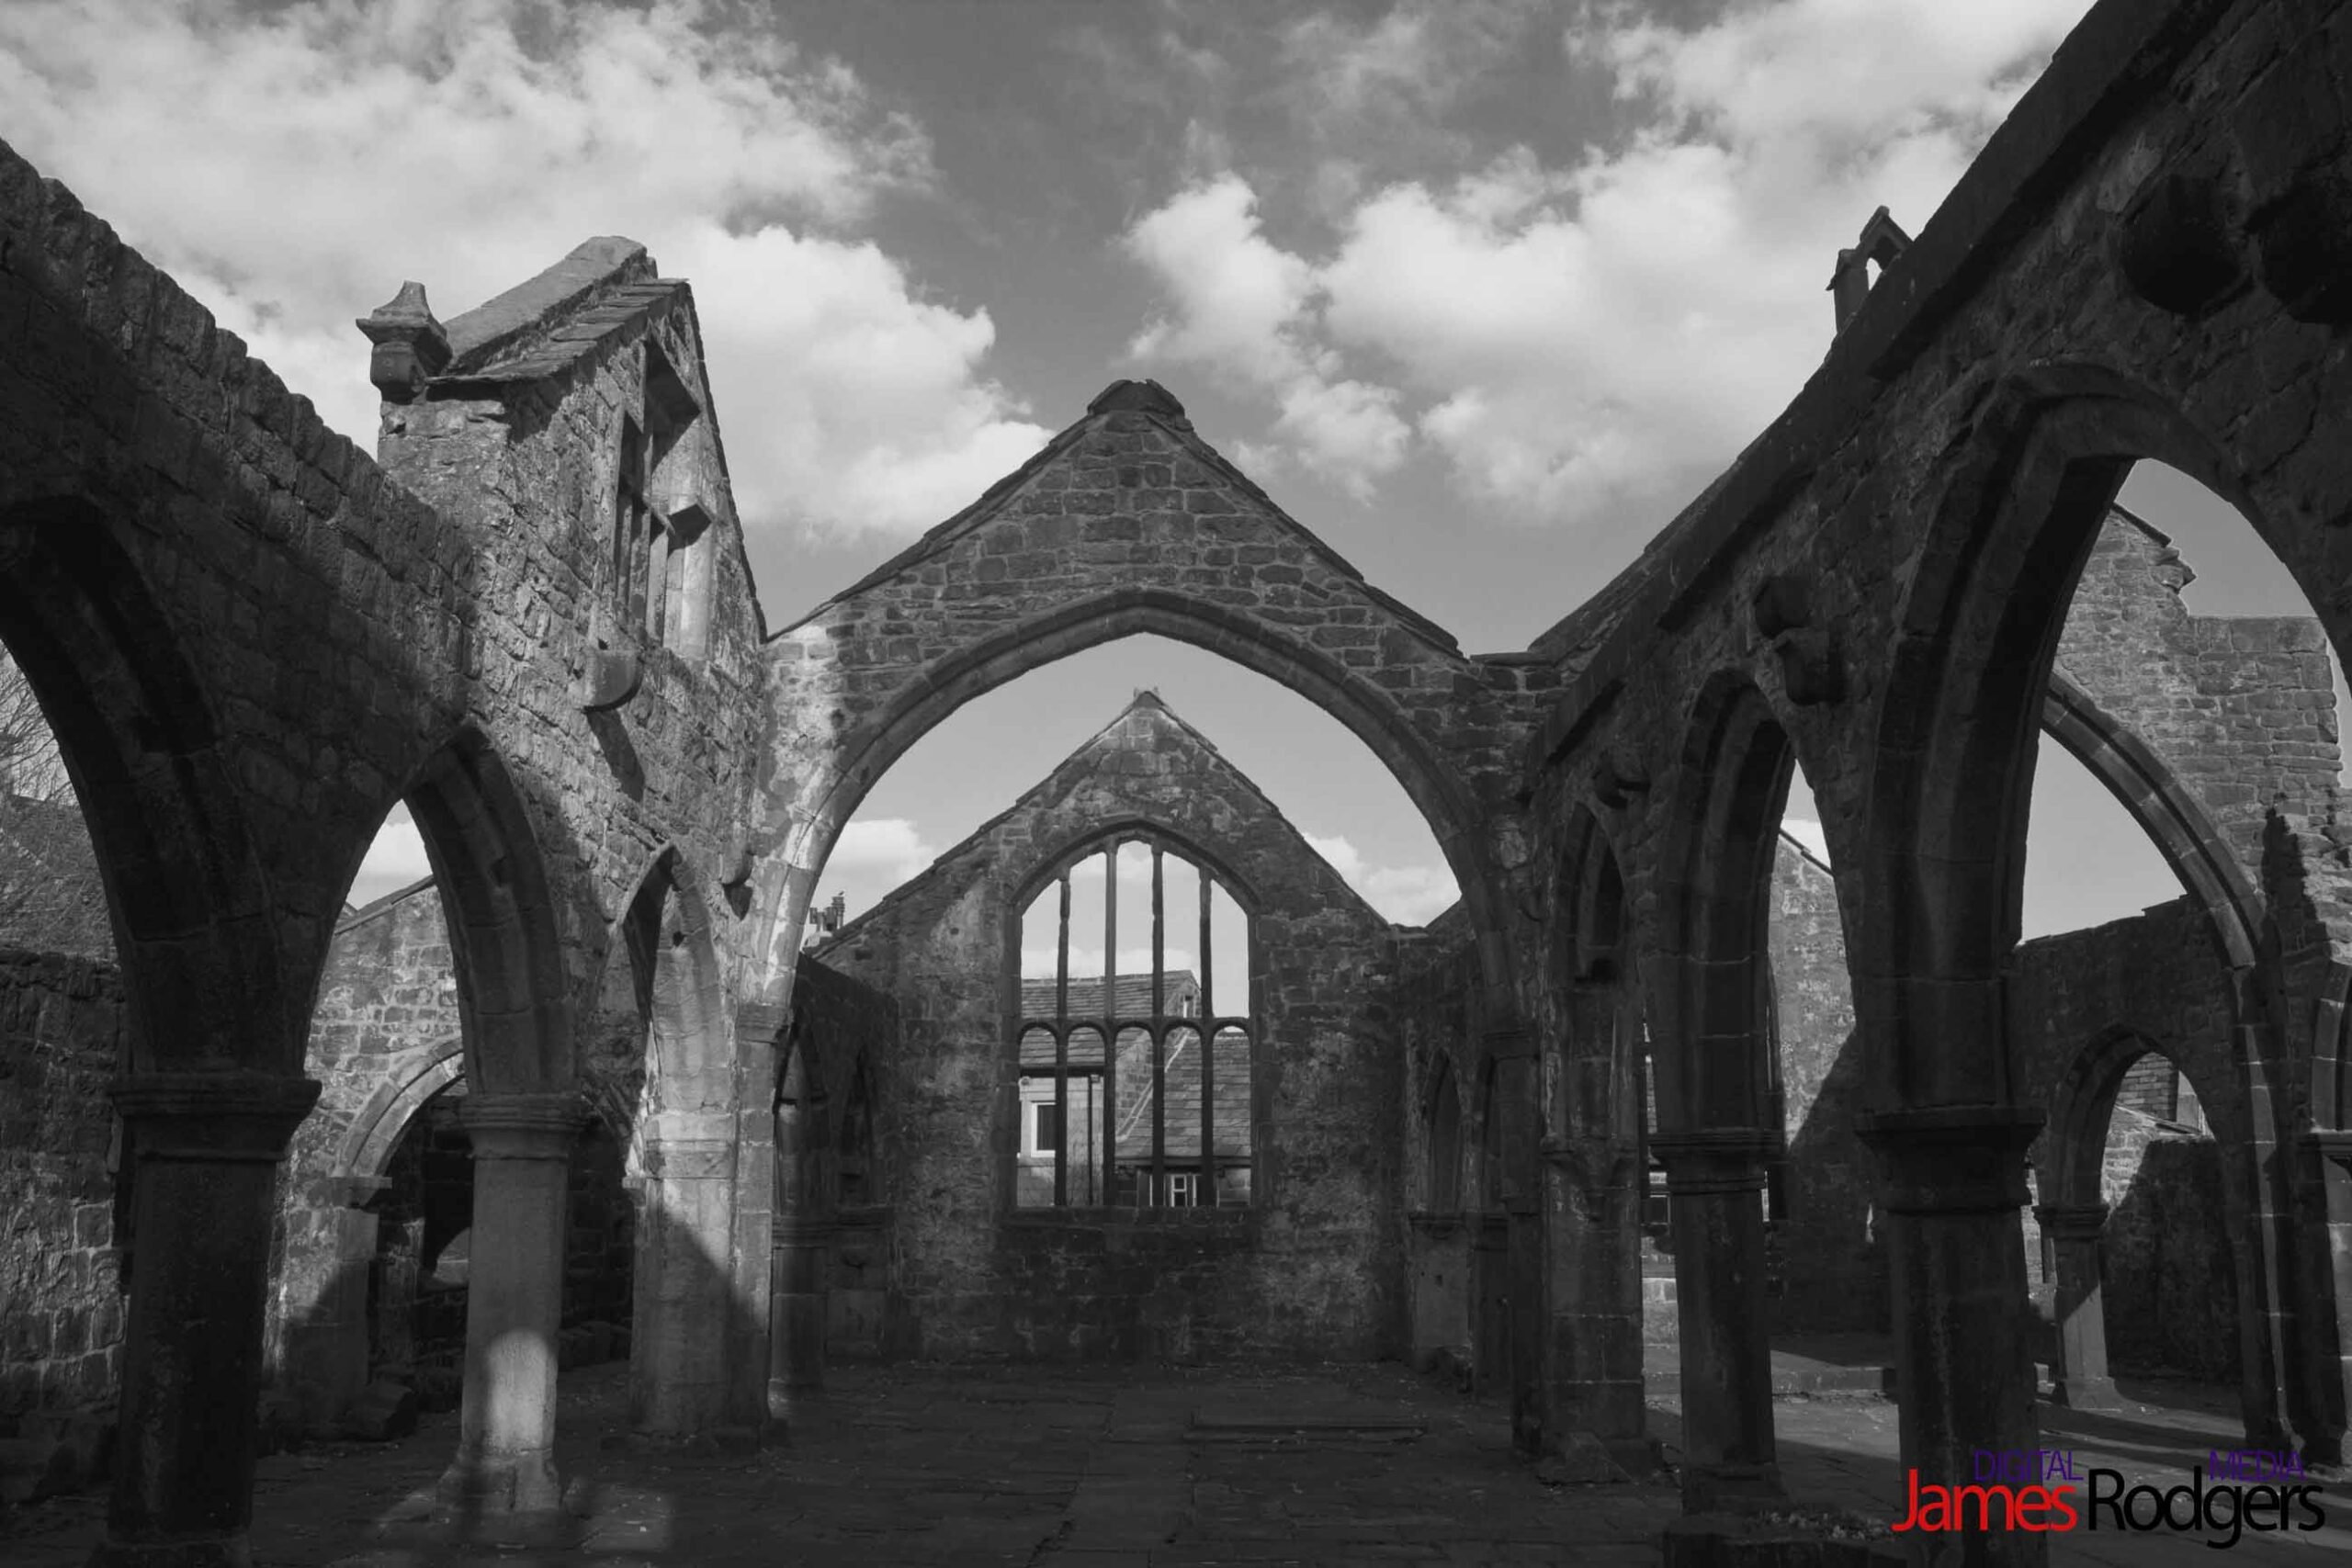
This is one way we convert images to black and white, it gives us more control of the black and white conversion.