Start Snipping Tools and select the Snipping Tool.
To open the Snipping Tool, go to your Windows Search bar, type in Snipping Tool.

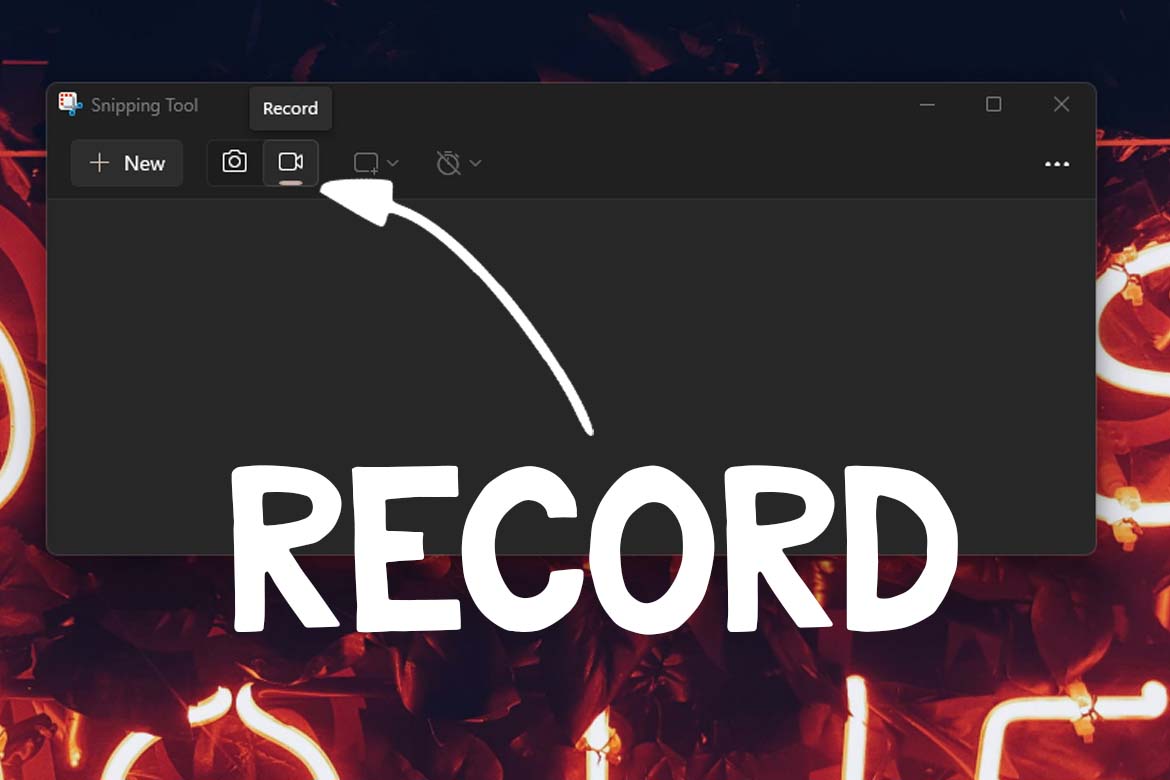
A window will appear that looks like the below:

Next, click the Record button with the camcorder icon (the camera icon is for a still image only) to let the tool know you want to use this feature.

Then click on the +New button in the top left corner of the window to begin a new recording.

3. Crop the area you want to record
What’s great about the Snipping Tool is that it allows you to crop the area you want to record manually. This is useful for removing areas that reveal private information.
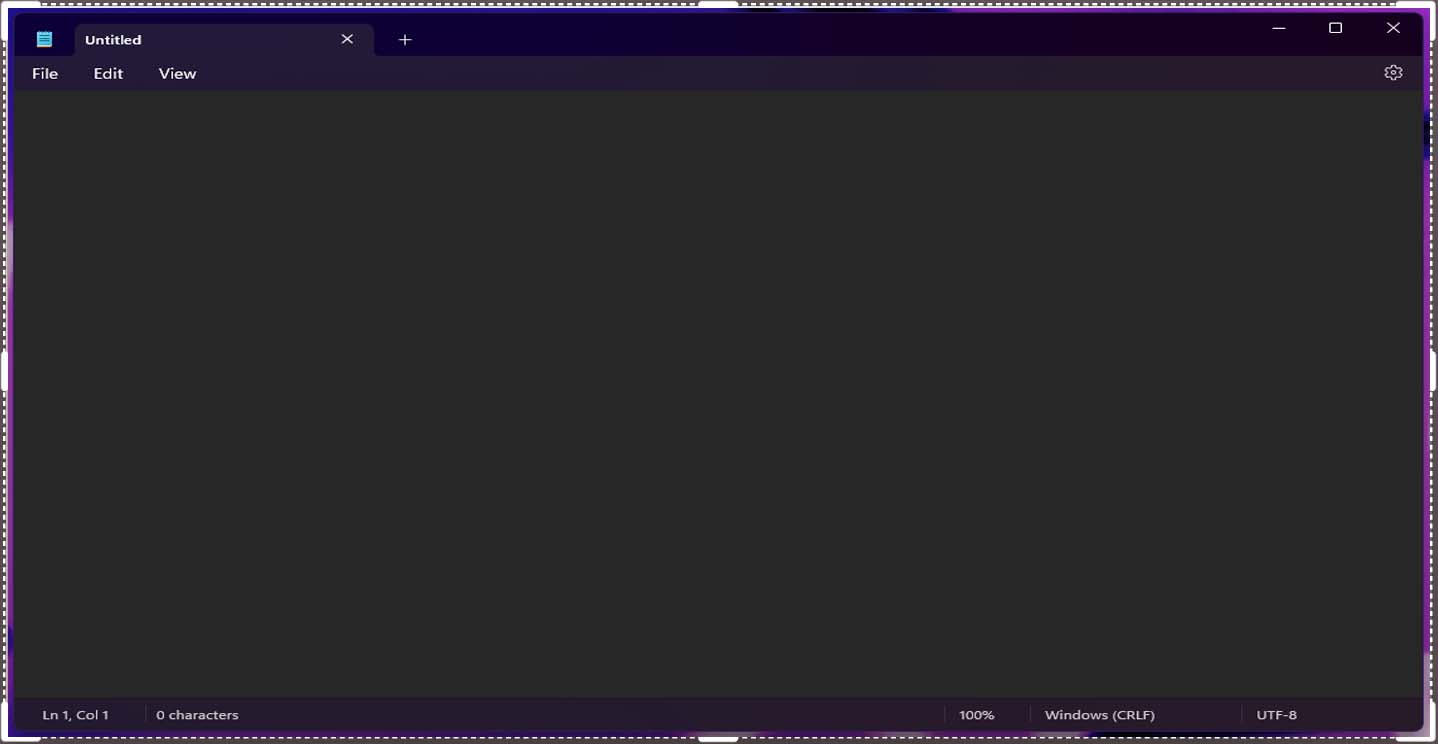
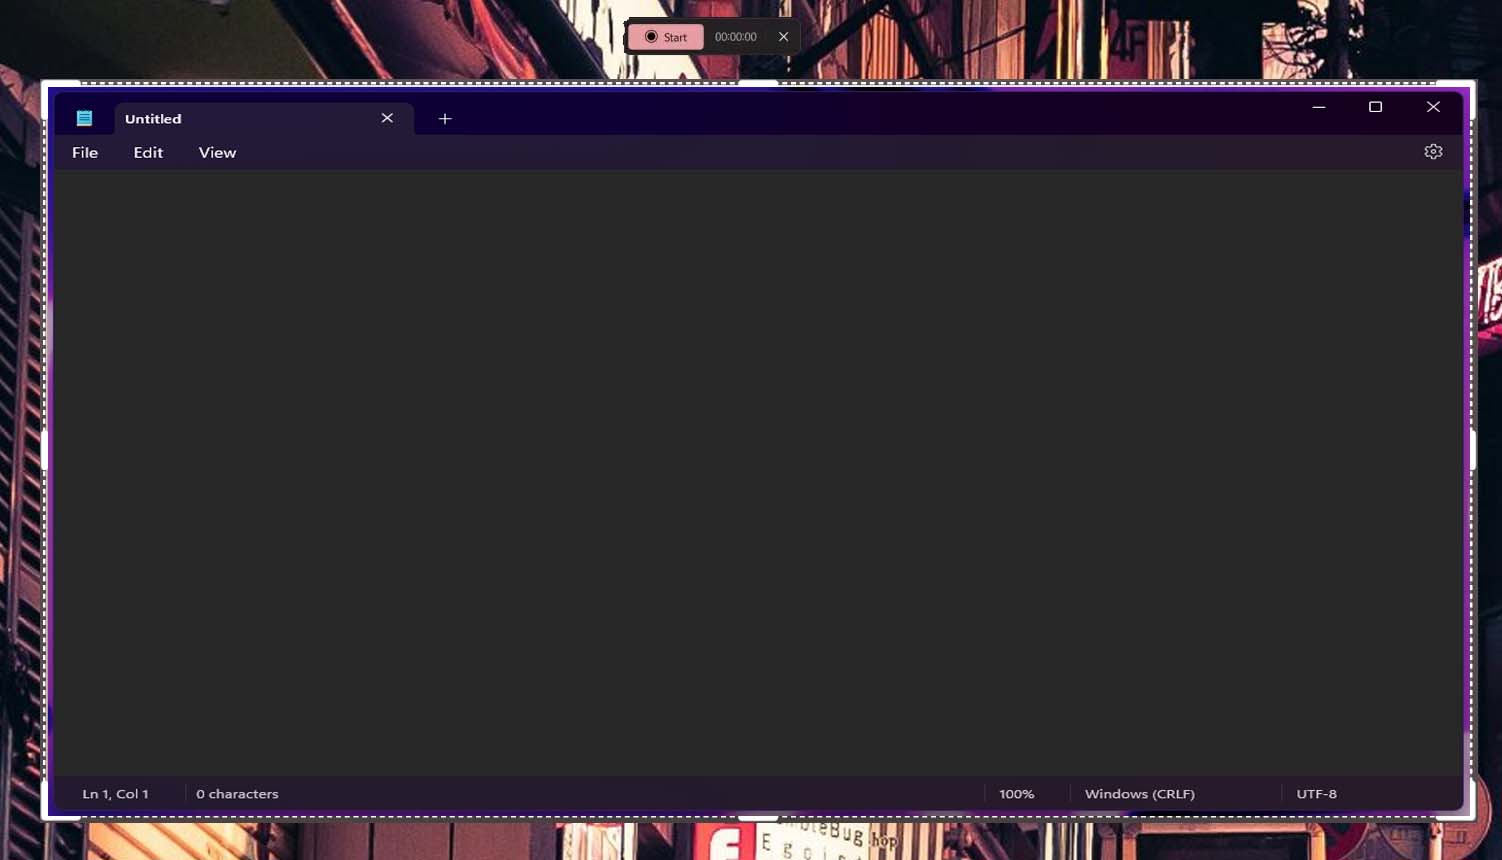
After clicking +New, you can select an area by left-clicking your mouse and dragging the white dotted line over the section you wish to record.
4. Start recording
Click the Start button in the floating window at the top of your screen.
5. Save the file
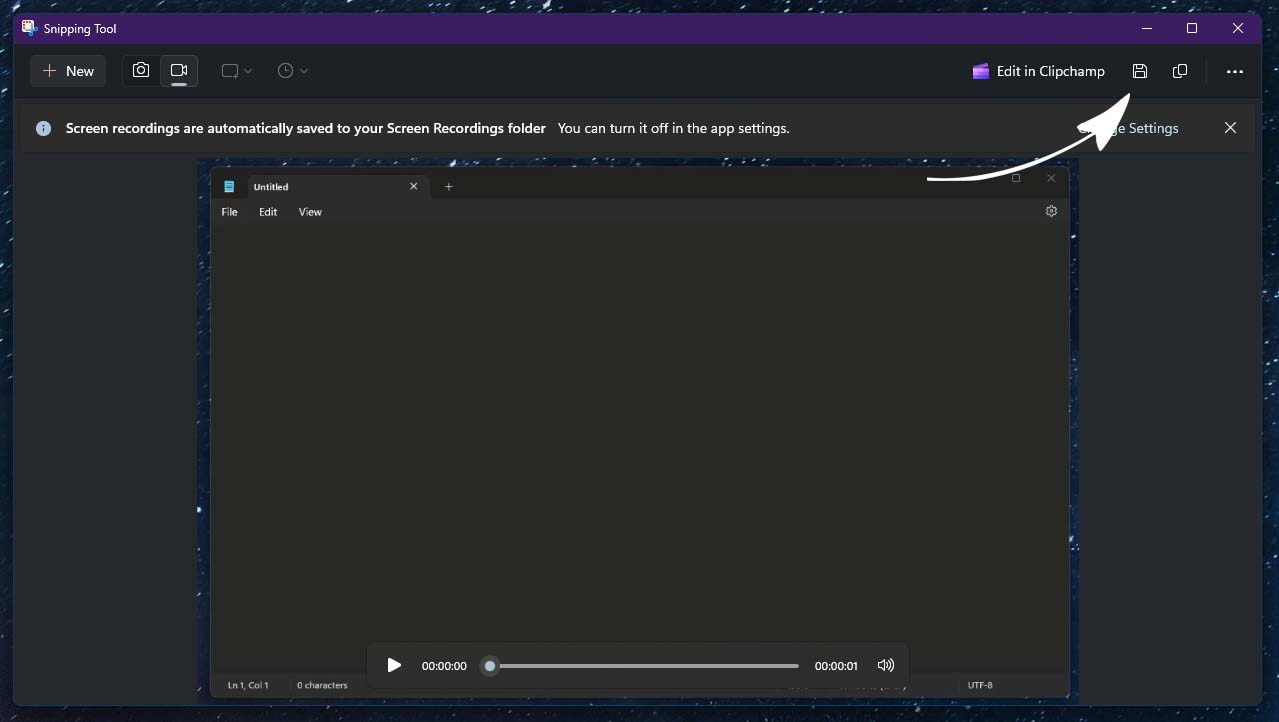
Once you’re done recording, save it by selecting the “Save as” option in the Snipping Tool window in the top right corner (it looks like an old-fashioned floppy disk).
