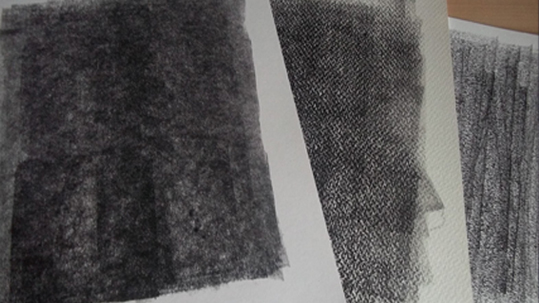
I like to make my own textures and then I scan them to be used in my designs. I thought I would like to show you one method I use to produce them.
It takes about 5 minutes to create and depending on what type of ink you use, you will need to wait a couple of hours for it to dry. In this blog I amusing a water clean-up printing ink and it take a few hours to dry thoroughly.
First of all, you are going to need paper to print onto and I chose to use a heavyweight and watercolour paper; however a good quality cartridge paper will do.
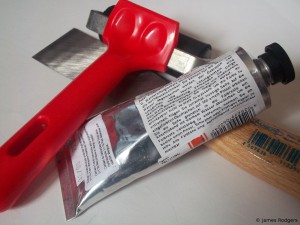
For the printing, you are going to need; a printing roller (brayer), printing ink, Ink spatula and an acrylic (Perspex) plastic or plate glass sheet to spread the ink onto. Squeeze out a small amount of ink on to your acrylic sheet to one side and then cut off a small amount with your spatula and smear it across the centre of you sheet. Then you want to start off by spreading the ink onto the plastic with the roller in a rectangular shape, until it is nice and thin and give a good even coating on the roller. Don’t use a lot of ink because a little will go a long way.
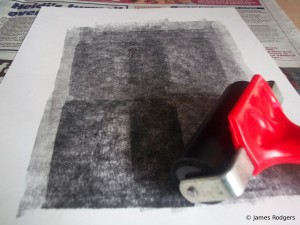
Once you have loaded up your roller, you can roll it onto your paper. You do not want to roll too much colour onto the paper because this will lead to a block of solid colour with no texture from the paper. When drying the prints you can rig up a line and peg the prints on to this until they dry.
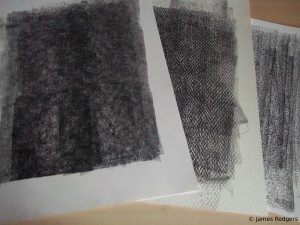
Once the print has dried you can scan the texture print for use in your graphics. I hope this tutorial has been helpful you are welcome to put your print textures in the comments below or email them to
info @ thedigitalstudios.co.uk and we will showcase them in a blog post.

 For the printing, you are going to need; a printing roller (brayer), printing ink, Ink spatula and an acrylic (Perspex) plastic or plate glass sheet to spread the ink onto. Squeeze out a small amount of ink on to your acrylic sheet to one side and then cut off a small amount with your spatula and smear it across the centre of you sheet. Then you want to start off by spreading the ink onto the plastic with the roller in a rectangular shape, until it is nice and thin and give a good even coating on the roller. Don’t use a lot of ink because a little will go a long way.
 Once you have loaded up your roller, you can roll it onto your paper. You do not want to roll too much colour onto the paper because this will lead to a block of solid colour with no texture from the paper. When drying the prints you can rig up a line and peg the prints on to this until they dry.
 Once the print has dried you can scan the texture print for use in your graphics. I hope this tutorial has been helpful you are welcome to put your print textures in the comments below or email them to info @ thedigitalstudios.co.uk and we will showcase them in a blog post.
